Unknown: mysqli::real_escape_string(): Passing null to parameter #1 ($string) of type string is deprecated in /home/coolairparts/public_html/system/library/db/mysqli.php on line 45Warning: Cannot modify header information - headers already sent by (output started at /home/coolairparts/public_html/system/framework.php:42) in /home/coolairparts/public_html/catalog/controller/startup/session.php on line 25Unknown: Automatic conversion of false to array is deprecated in /home/coolairparts/public_html/catalog/controller/startup/startup.php on line 95Warning: Cannot modify header information - headers already sent by (output started at /home/coolairparts/public_html/system/framework.php:42) in /home/coolairparts/public_html/catalog/controller/startup/startup.php on line 99Warning: Cannot modify header information - headers already sent by (output started at /home/coolairparts/public_html/system/framework.php:42) in /home/coolairparts/public_html/catalog/controller/startup/startup.php on line 157 1994 - 2005 Dodge Diesel Pickup RAM2500 Ram3500 AC 4338, 4364, 4606, 4682, 4721, 4750, 4775, 4789, 4829, 4889, 4899
loader
banner1
Banner2

Today special offer

50% Off First Order

Shop Now

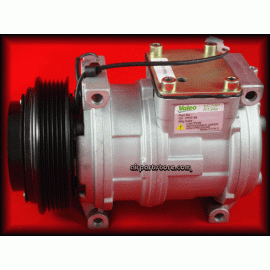
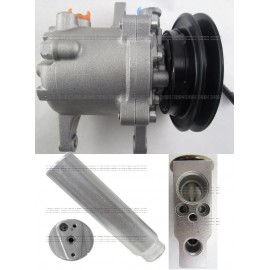
1994 - 2005 Dodge Diesel Pickup RAM 2500 3500 AC Compressor 4775 AC KIT 55036561AB 55055339 55055339AD 55055339AE

  • $229.00

  • $389.00
  • Ex Tax:$229.00

  • Brands : DODGE
  • Product Code:Ram 2500
  • Availability:15

overview

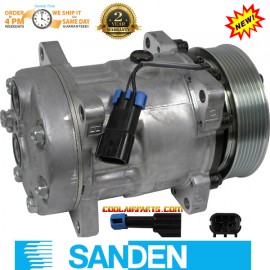
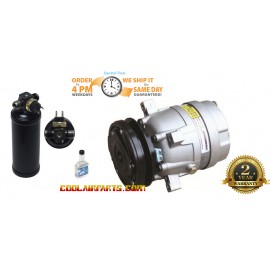
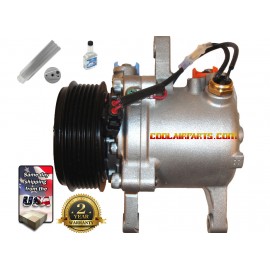
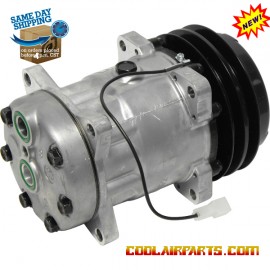
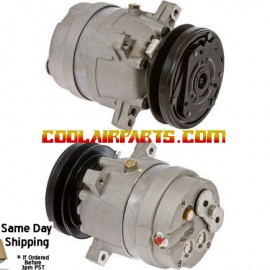
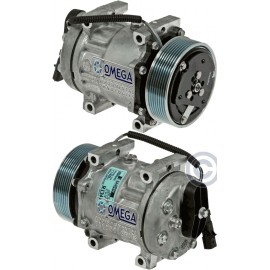
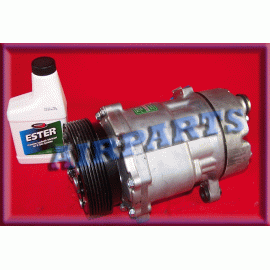
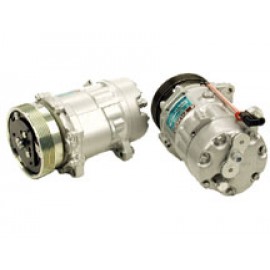
New SD7H15 Air Conditioning A/C Compressor Complete With 8 Groove Clutch Assembly For Dodge Ram 2500 And Ram 3500 Pickup Truck 6 Cylinder 5.9 Cummins Turbo Diesel.4338, 4364, 4606, 4682, 4721, 4750, 4775, 4789, 4829, 4889, 4899



 

Item Number: AP4775ktCore Charge: $0.00Manufacturer: AirpartsDescription: OEM 4746 788, 5503 6561AB, 5505 5339, 5505 5339AD, 5505 5339AE,

5505 5339AF, 5505 5339AG, 5505 5339AH, 5505 5339AI

/ New AC Compressor

Shipping Weight: 19.0 lbs

 2 Years Warranty 

New SD7H15 Air Conditioning A/C Compressor Complete With 8 Groove Clutch Assembly For

Dodge Ram 2500 And Ram 3500 Pickup Truck 6 Cylinder 5.9 Cummins Turbo Diesel. Built to OEM Specifications and better cooling.

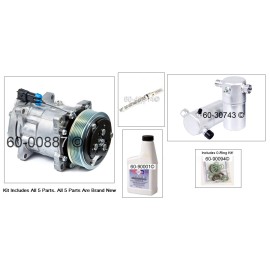
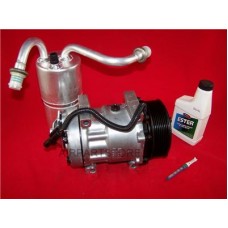
Free AC KIt Includes:

Free Oil

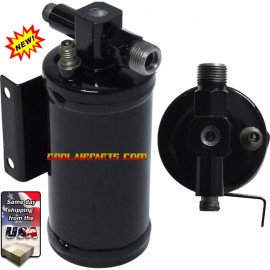
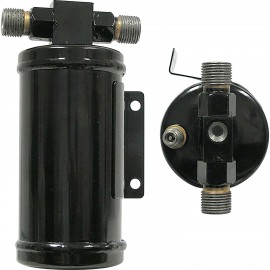
Free Accumulator Drier

Free Orifice Tube


Denso: 471-7009
Sanden: 4338, 4364, 4606, 4682, 4721, 4750, 4775, 4789, 4829, 4889, 4899
 
 
Application Notes
Sanden SD7H15 - 8 Groove Clutch 4.7" Diameter, .90" Gauge Line - Direct Mount (4 Boss) - "GH" Rear Head - Rear Pad Fittings
 
A/C Compressor Removal & Installation Labor Time is .9 Hours.
 
Dodge Ram 5.9 Diesel Compressor Removal & Installation
 
WARNING: Refer to the applicable warnings and cautions for this system before performing the following operation.  Failure to follow the warnings and cautions could result in possible personal injury or death.
 
NOTE: The A/C compressor may be removed and repositioned without disconnecting the refrigerant lines or discharging the refrigerant system. Discharging is not necessary if servicing the compressor clutch, clutch coil or engine.

1. Disconnect and isolate the negative battery cable.
2. Recover the refrigerant from the refrigerant system.
3. Remove the accessory drive belt. (see below)
4. Disconnect the wire harness connector from the clutch coil connector of the A/C compressor (6).
5. Remove the bolt (7) that secure the A/C suction and discharge line assembly (8) to the A/C compressor.
6. Disconnect the refrigerant line assembly from the A/C compressor and remove and discard the seals.
7. Install plugs in, or tape over all of the opened refrigerant line fittings and the compressor ports.


8. Remove the four bolts (4) that secure the A/C compressor (3) to the mounting bracket (2) located on the right side of the cylinder block (1).
 
 
9. Remove the A/C compressor from the engine compartment.
 
Installation
 
CAUTION: If the A/C compressor is being replaced, be certain to adjust the refrigerant system oil level.  Failure to properly adjust the refrigerant oil level will prevent the A/C system from operating as designed and can cause serious A/C compressor damage. (this compressor comes with a full charge of oil)
 
CAUTION: The A/C accumulator must be replaced if an internal failure of the A/C compressor has occurred. Failure to replace the A/C accumulator can cause serious damage to the replacement A/C compressor.
 
NOTE: When replacing multiple A/C system components, refer to the Refrigerant Oil Capacities chart to determine how much oil should be removed from the new A/C compressor.
 
NOTE:Replacement of the refrigerant line O-ring seals and gaskets is required anytime a refrigerant line is opened. Failure to replace the rubber O-ring seals and metal gaskets could result in a refrigerant system leak.
 
1. If the A/C compressor (3) is being replaced, the refrigerant oil in the old compressor must be first drained and measured. Then the oil in the new A/C compressor must be drained. Finally, the new compressor must be refilled with the same amount of new refrigerant oil that was drained out of the old compressor.  When replacing multiple A/C system components, refer to the Refrigerant Oil Capacities chart to determine how much oil should be added to the refrigerant system.  Use only refrigerant oil of the type recommended for the A/C compressor in the vehicle. (this compressor comes with a full charge of oil)
2. Position the A/C compressor into the engine compartment.
3. Install and hand tighten the four bolts (4) that secure the A/C compressor to the mounting bracket (2).
4. Tighten the bolts that secure the A/C compressor to the mounting bracket to 27 N·m (20 ft. lbs.).


5. Remove the tape or plugs from the opened refrigerant line fittings and the compressor ports.
6. Lubricate new seals with clean refrigerant oil and install them onto the refrigerant line fittings. Use only the specified seals as they are made of a special material for the R-134a system. Use only refrigerant oil of the type recommended for the A/C compressor in the vehicle.
7. Install the A/C suction and discharge line assembly (8) onto the A/C compressor (6).
8. Install the bolt (7) that secures the refrigerant line assembly to the A/C compressor. Tighten the bolt to 23 N·m (17 ft. lbs.).


9. Connect the wire harness connector to the clutch coil connector of the A/C compressor.
10. Install the accessory drive belt. (see below)
11. Reconnect the negative battery cable.
12. Evacuate the refrigerant system.
13. Charge the refrigerant system.
 
Belt Removal & Installation
 
The 5.9L diesel engine accessory drive system (with A/C) consists of :
Generator Pulley (1)
Water Pump Pulley (2)
Idler Pulley (3)
Power Steering Pump Pulley (4)
Radiator Fan Pulley (5)
Crankshaft Pulley (6)
Automatic Tensioner (7)
A/C Compressor Pump Pulley (8)
 
Removal
 
1. A 1/2 inch square hole is provided in the automatic belt tensioner. Attach a 1/2 inch drive-long handle ratchet to this hole.
2. Rotate ratchet and tensioner assembly clockwise (as viewed from front) until tension has been relieved from belt.
3. Remove belt from water pump pulley first.
Remove belt from vehicle.
4. Remove belt from vehicle.
 
Installation
 
CAUTION: When installing the accessory drive belt, the belt must be routed correctly. If not, engine may overheat due to water pump rotating in wrong direction.  The correct belt with correct length must be used.
 
1. Position drive belt over all pulleys except water pump pulley.
2. Attach a 1/2 inch ratchet to tensioner.
3. Rotate ratchet and belt tensioner clockwise. Place belt over water pump pulley. Let tensioner rotate back into place. Remove ratchet. Be sure belt is properly seated on all pulleys.


The Accumulator or Filter Drier should always be replaced when the Air Conditioning System is opened.
Applications
Years Make Model Engine Type Liter Fuel
1994 - 2005 Dodge Ram 2500 Pickup L6 5.9 DIESEL
1998 Dodge Ram 2500 Pickup Club Cab L6 5.9 DIESEL
1998 Dodge Ram 2500 Pickup Quad Cab L6 5.9 DIESEL
2001 Dodge Ram 2500 Pickup Quad Cab L6 5.9 DIESEL
1994 - 2005 Dodge Ram 3500 Pickup L6 5.9 DIESEL
1998 Dodge Ram 3500 Pickup Quad Cab L6 5.9 DIESEL
2001 Dodge Ram 3500 Pickup Quad Cab L6 5.9

DIESEl

Powered By OpenCart
Cool Air Parts © 2024